

Create Your First VM
You have a node registered and connected. Before creating a VM, you need three things configured: a compute profile, a storage profile, and an image in the catalog. This page walks you through setting up all three and then creating your first virtual machine — all from the portal.
Set up prerequisites
Create a compute profile
Compute profiles define CPU and memory combinations that standardize VM sizing.
- Navigate to Settings > Compute Profiles.
- Click Add Profile.
- Enter a name (e.g., "Small"), set 2 vCPUs and 4 GiB of memory.
- Click Save.
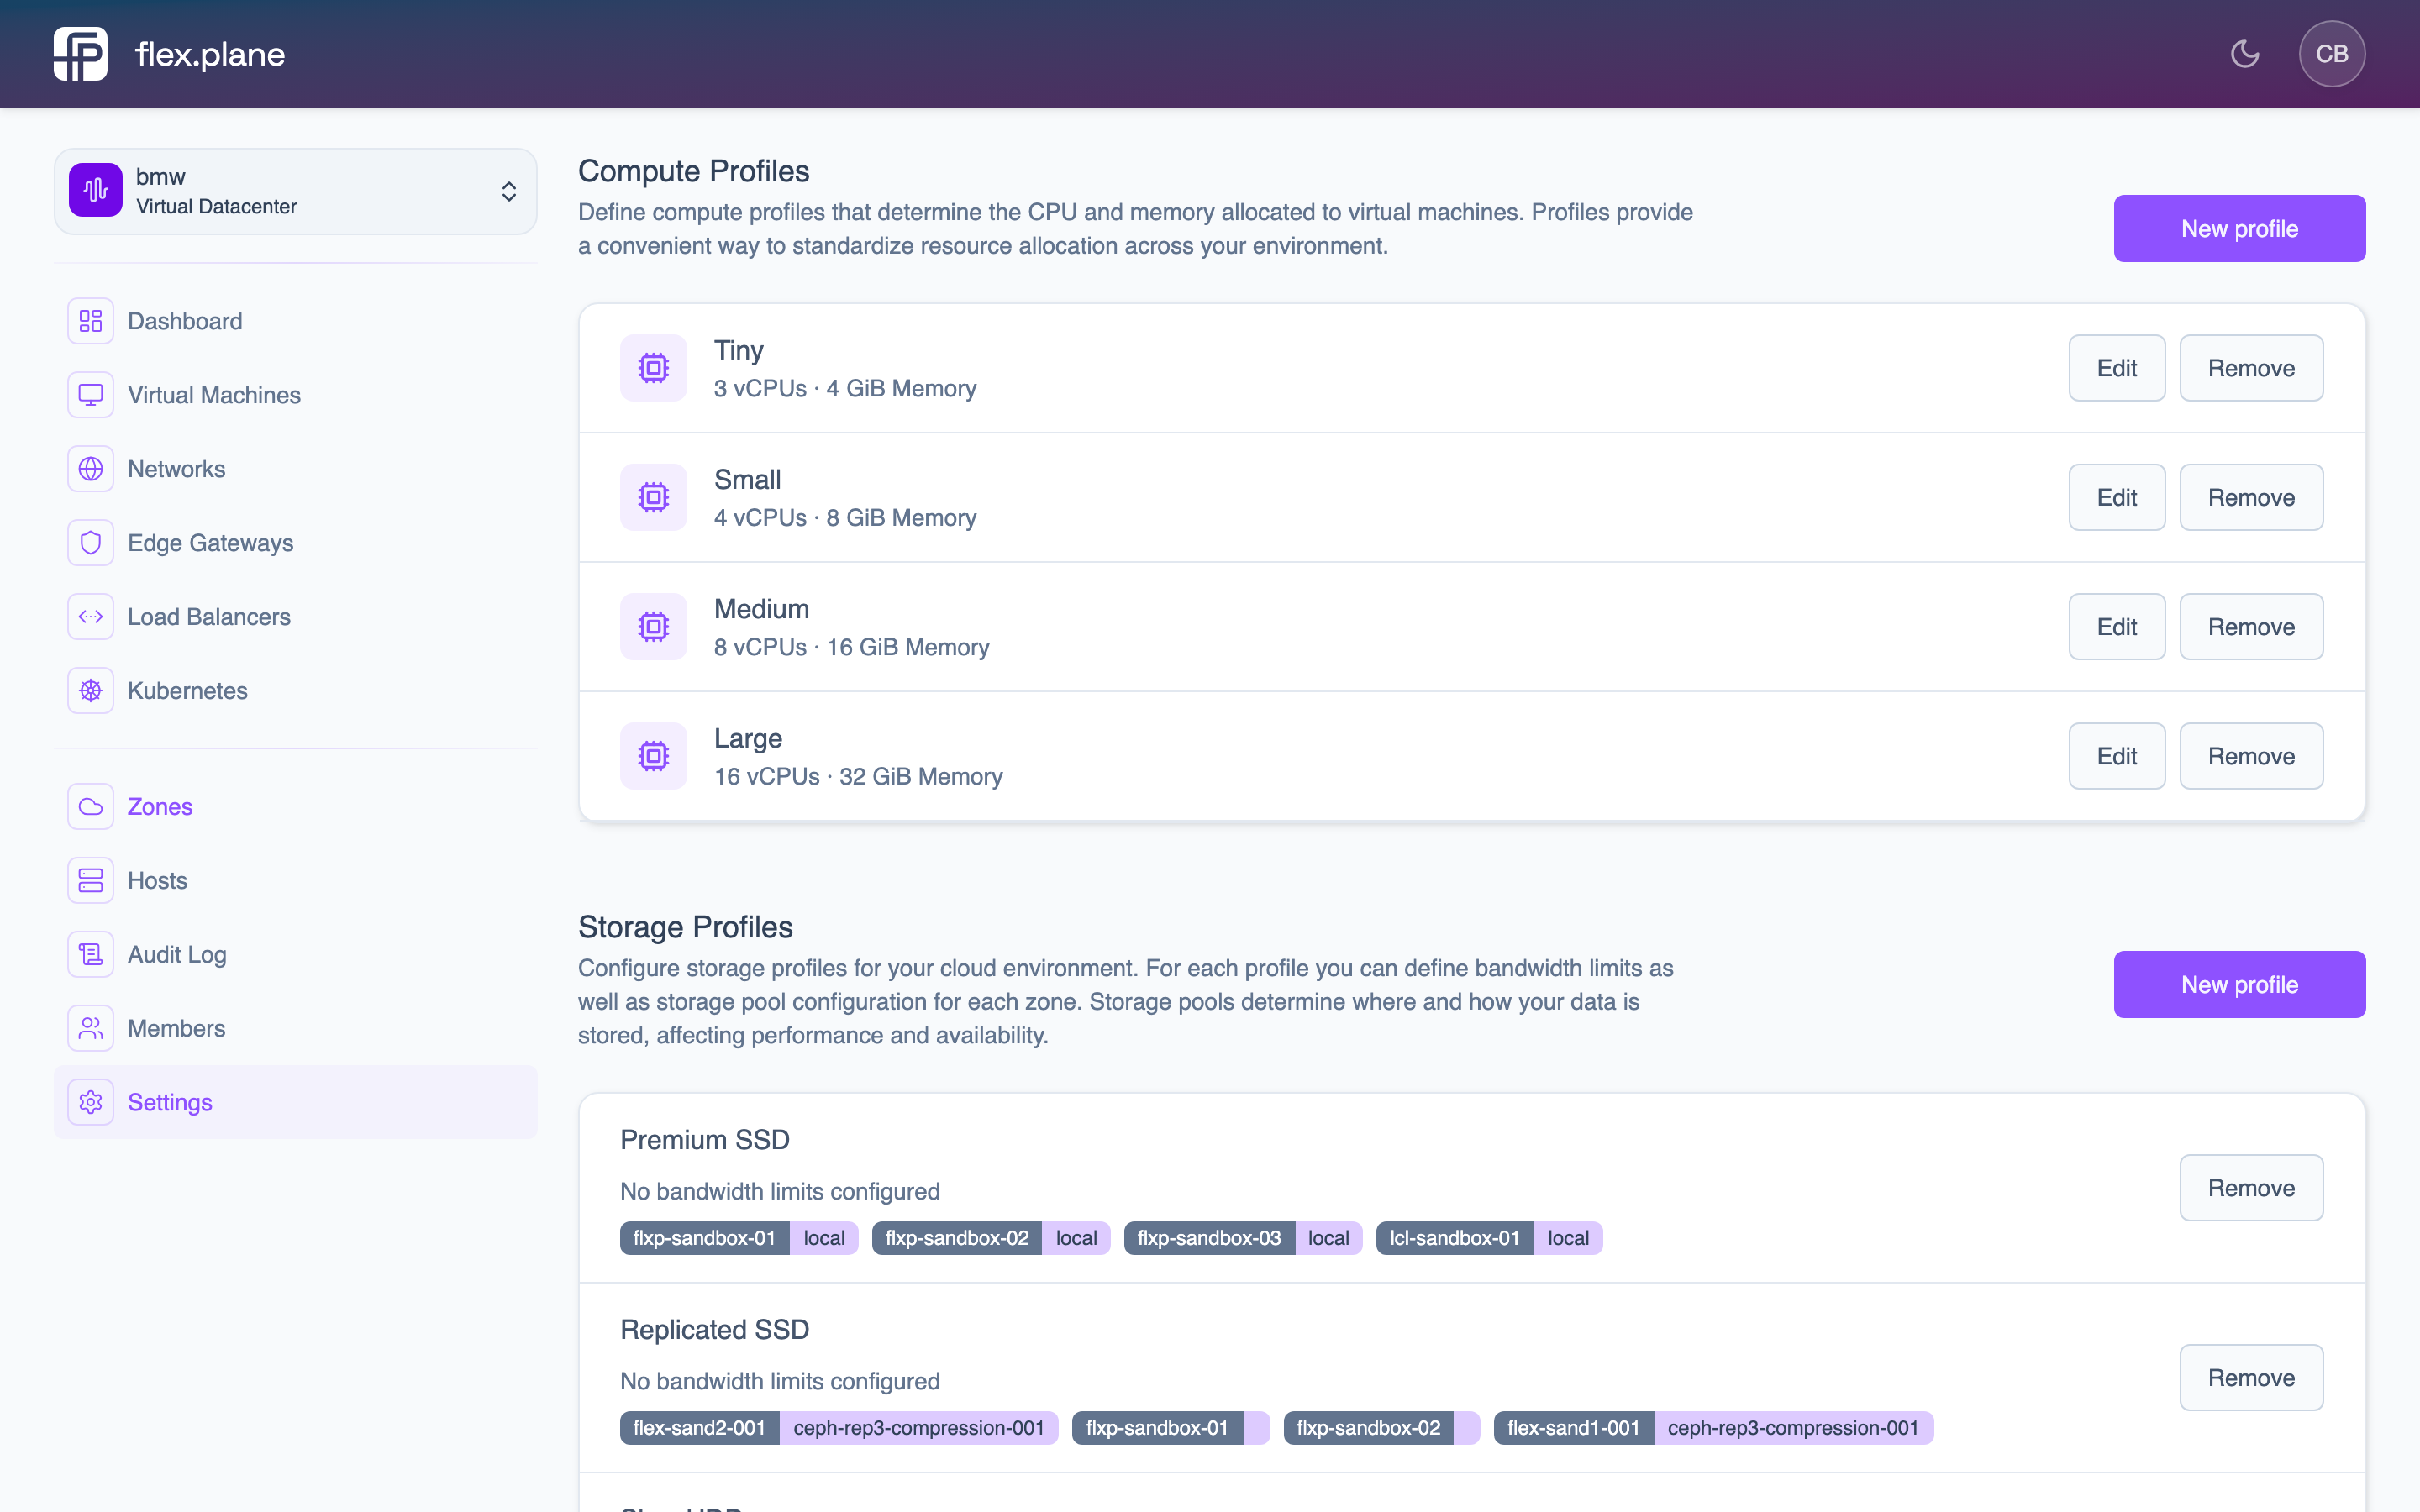 Manage your compute profiles from the Settings page. Create as many as you need: Small, Medium, Large, etc.
Create a storage profile
Storage profiles map zones to Proxmox storage pools and define I/O limits.
- Navigate to Settings > Storage Profiles.
- Click Add Profile.
- Enter a name (e.g., "Standard"), select the zone and storage pool, and set read/write limits.
- Click Save.
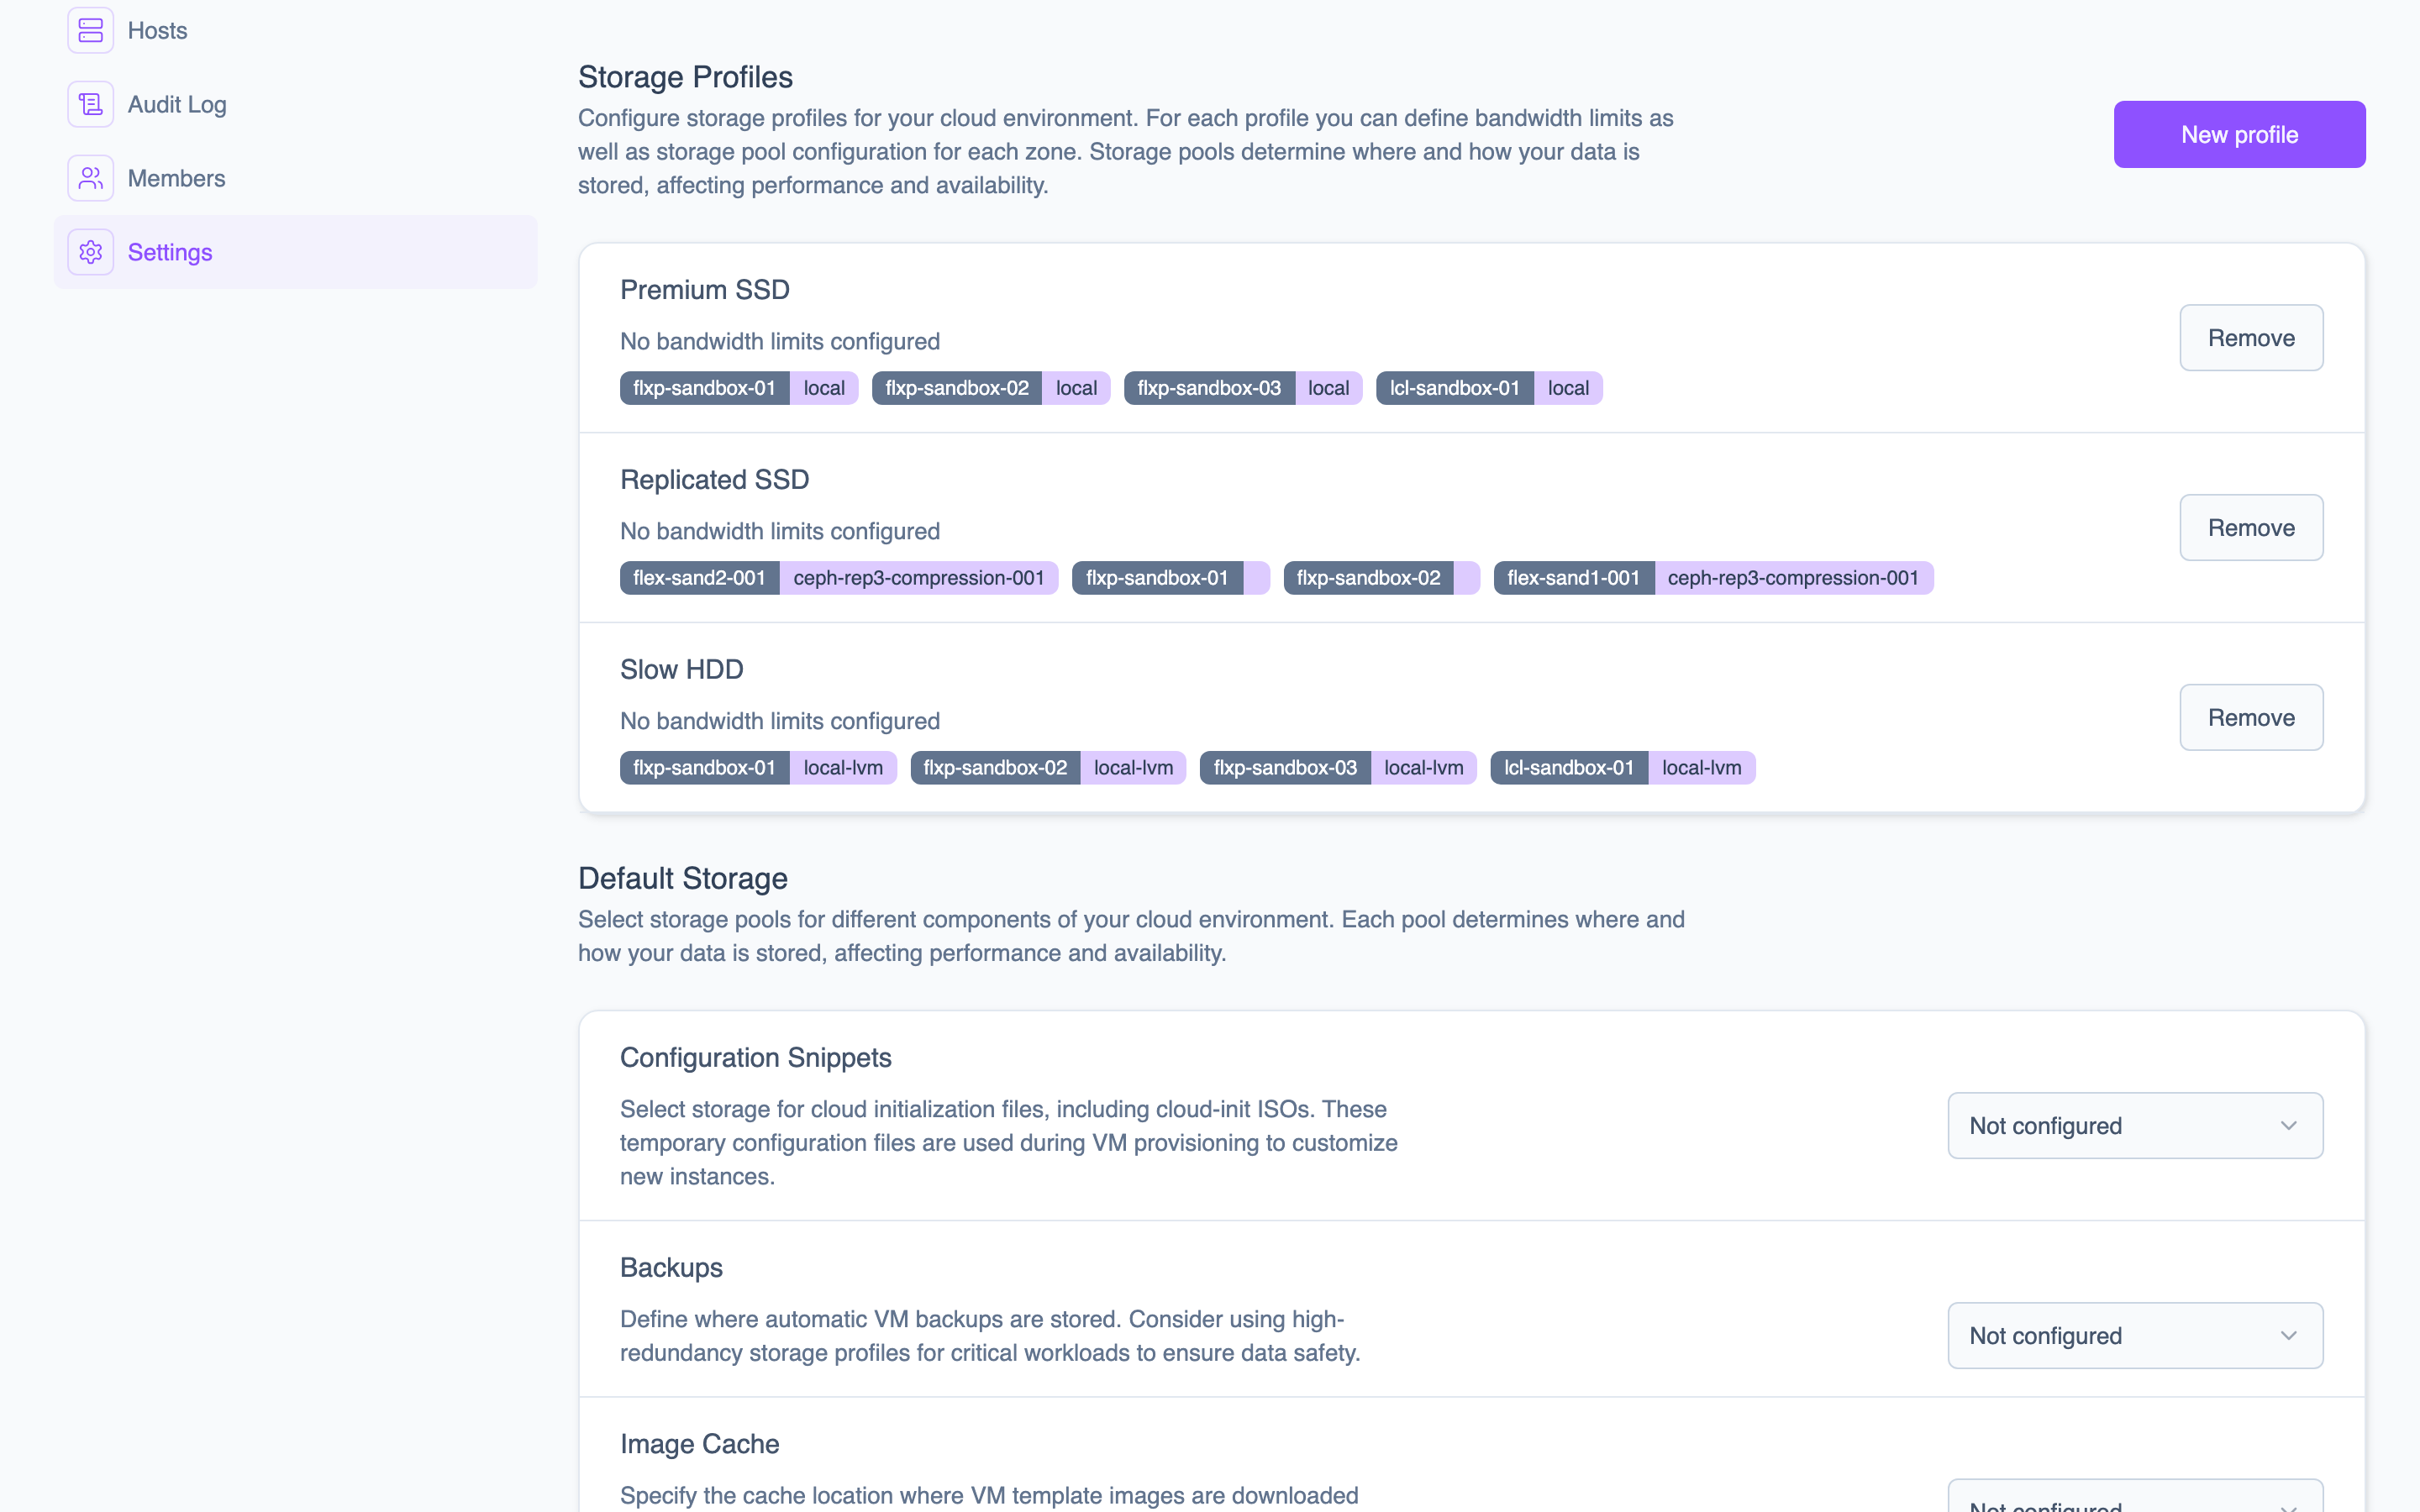 Storage profiles connect zones to their Proxmox storage pools with optional I/O limits.
Add an image to the catalog
Add a cloud image so VMs have an operating system to boot from.
- Navigate to Settings > Image Catalog.
- Click Add Image.
- Enter the image name (e.g., "Ubuntu"), version (e.g., "24.04"), the download URL, and the checksum file URL.
- Click Save.
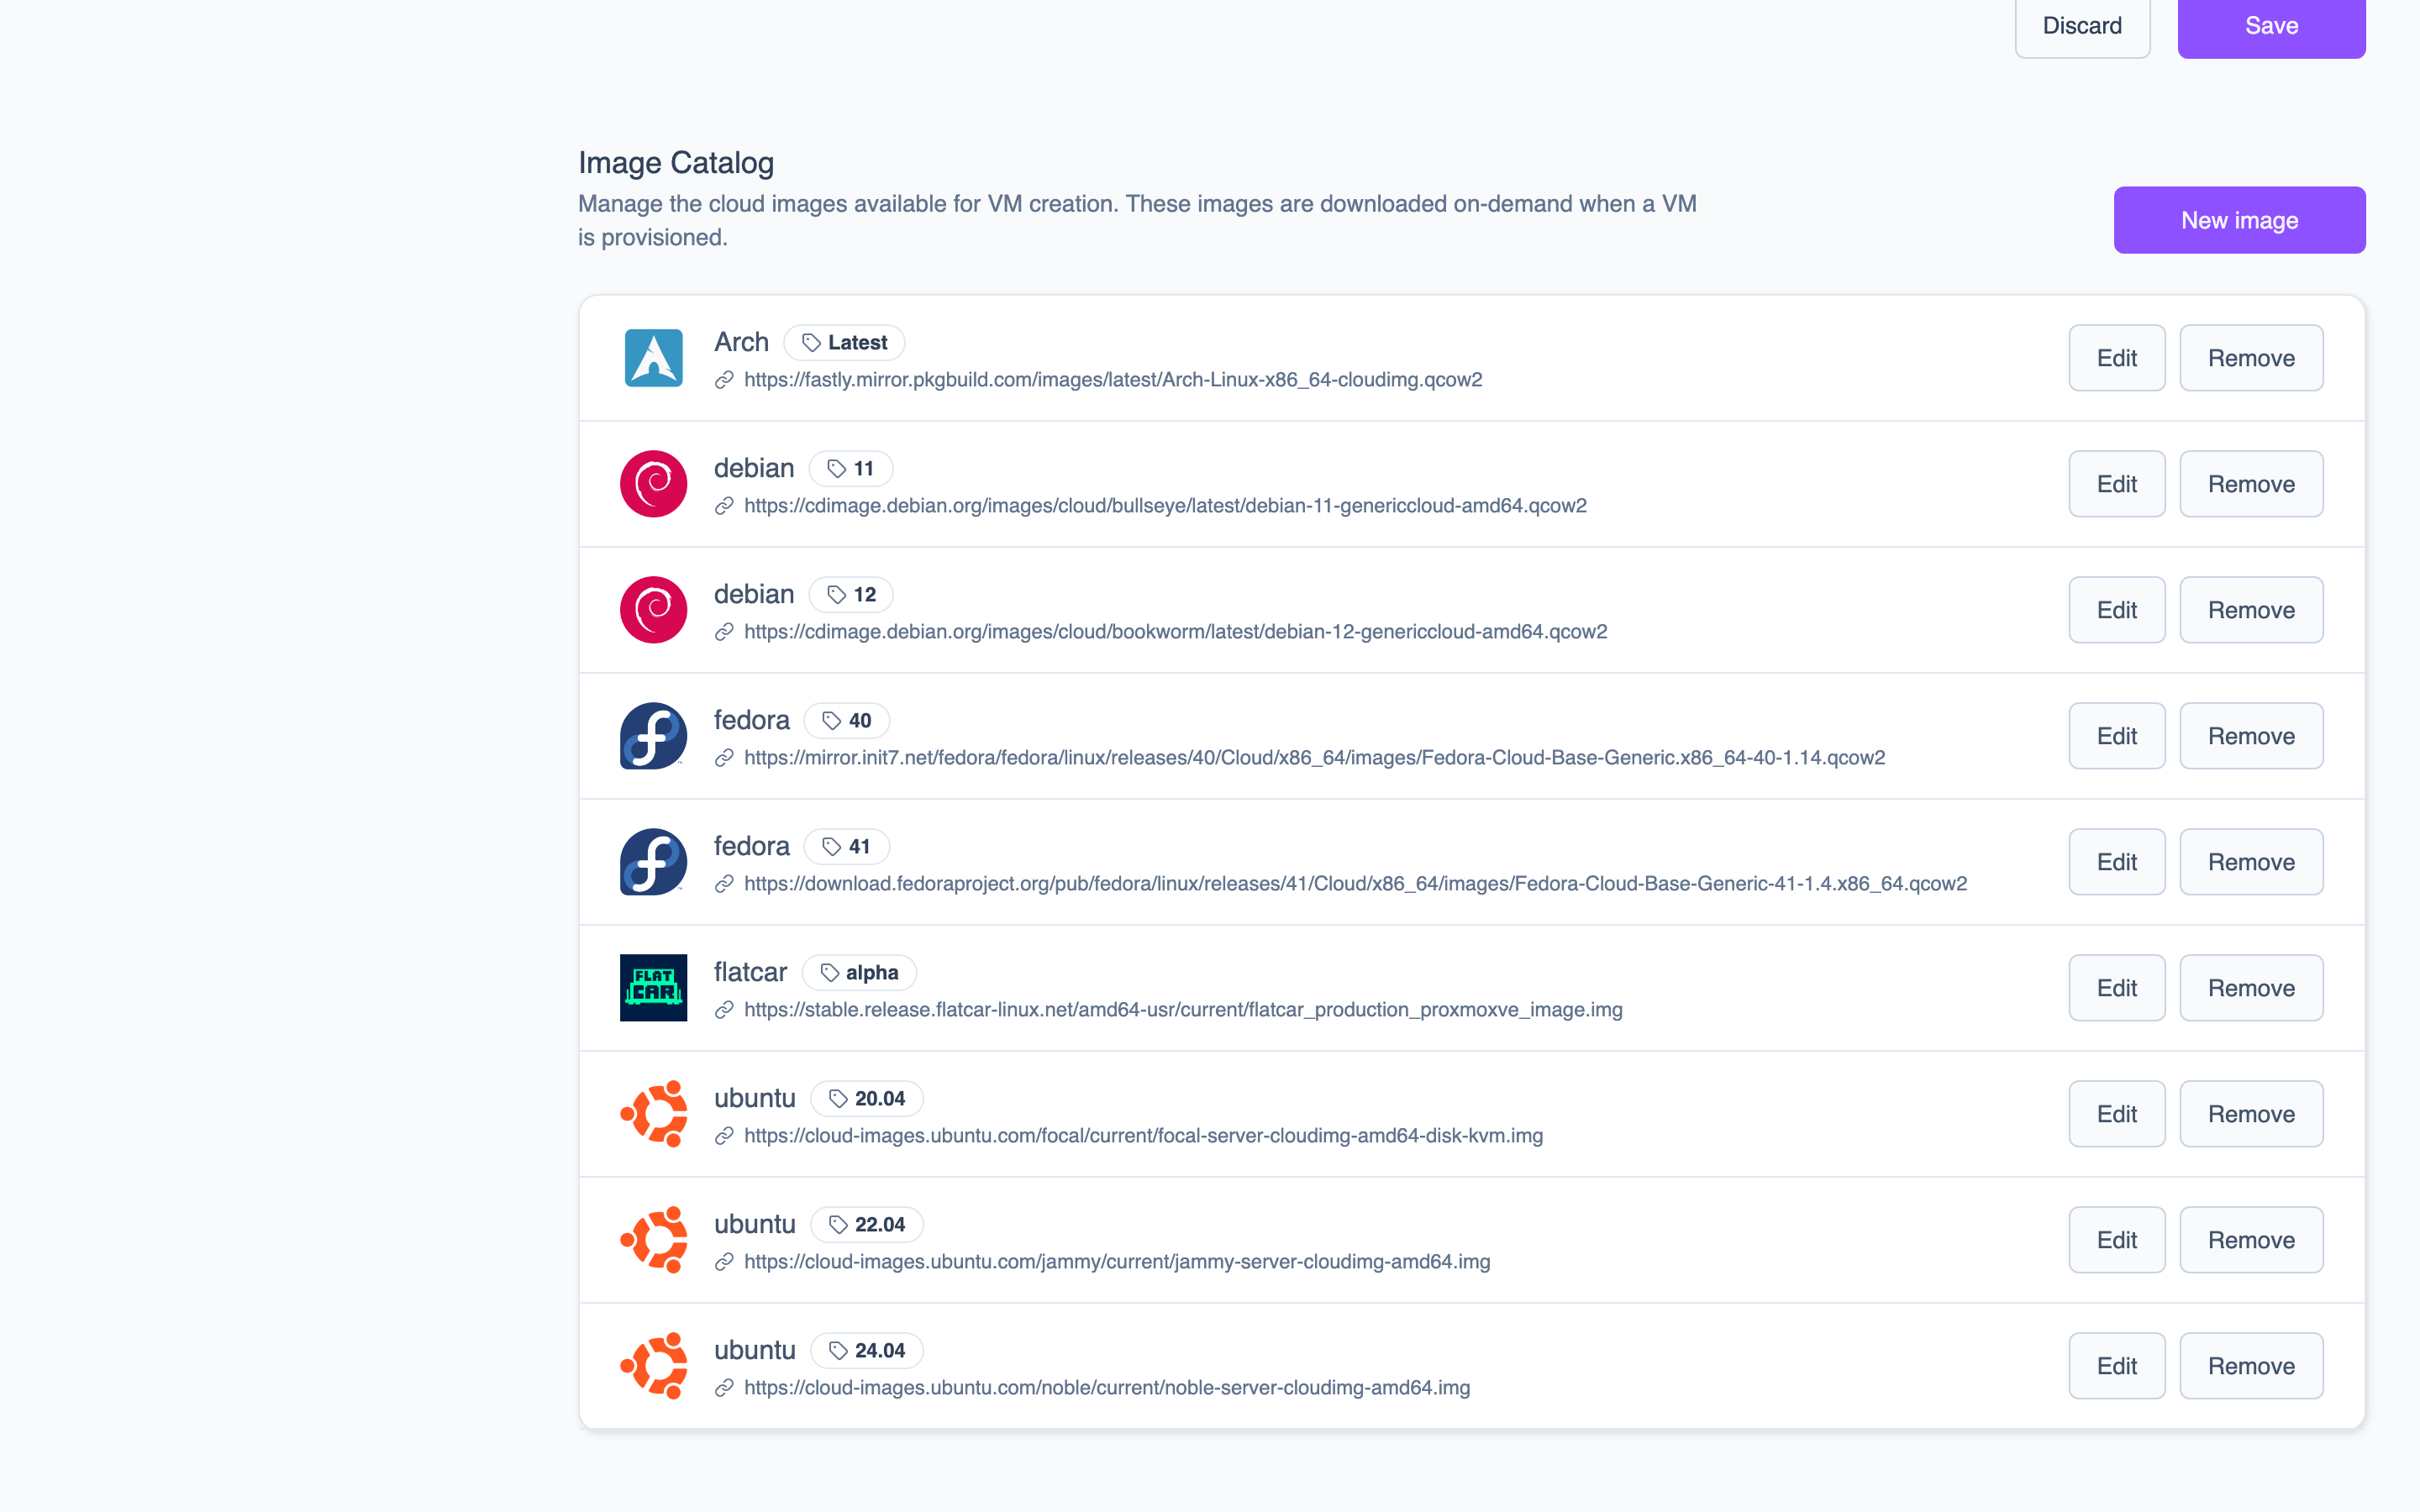 The image catalog stores download URLs for cloud images. The agent downloads images on demand when a VM is first created with them.
Create a network
Create a virtual network for your VMs.
- Navigate to Networks.
- Click Create Network.
- Enter a network name, select a VLAN ID, and define the IP range (e.g., 10.0.0.0/24).
- Click Create.
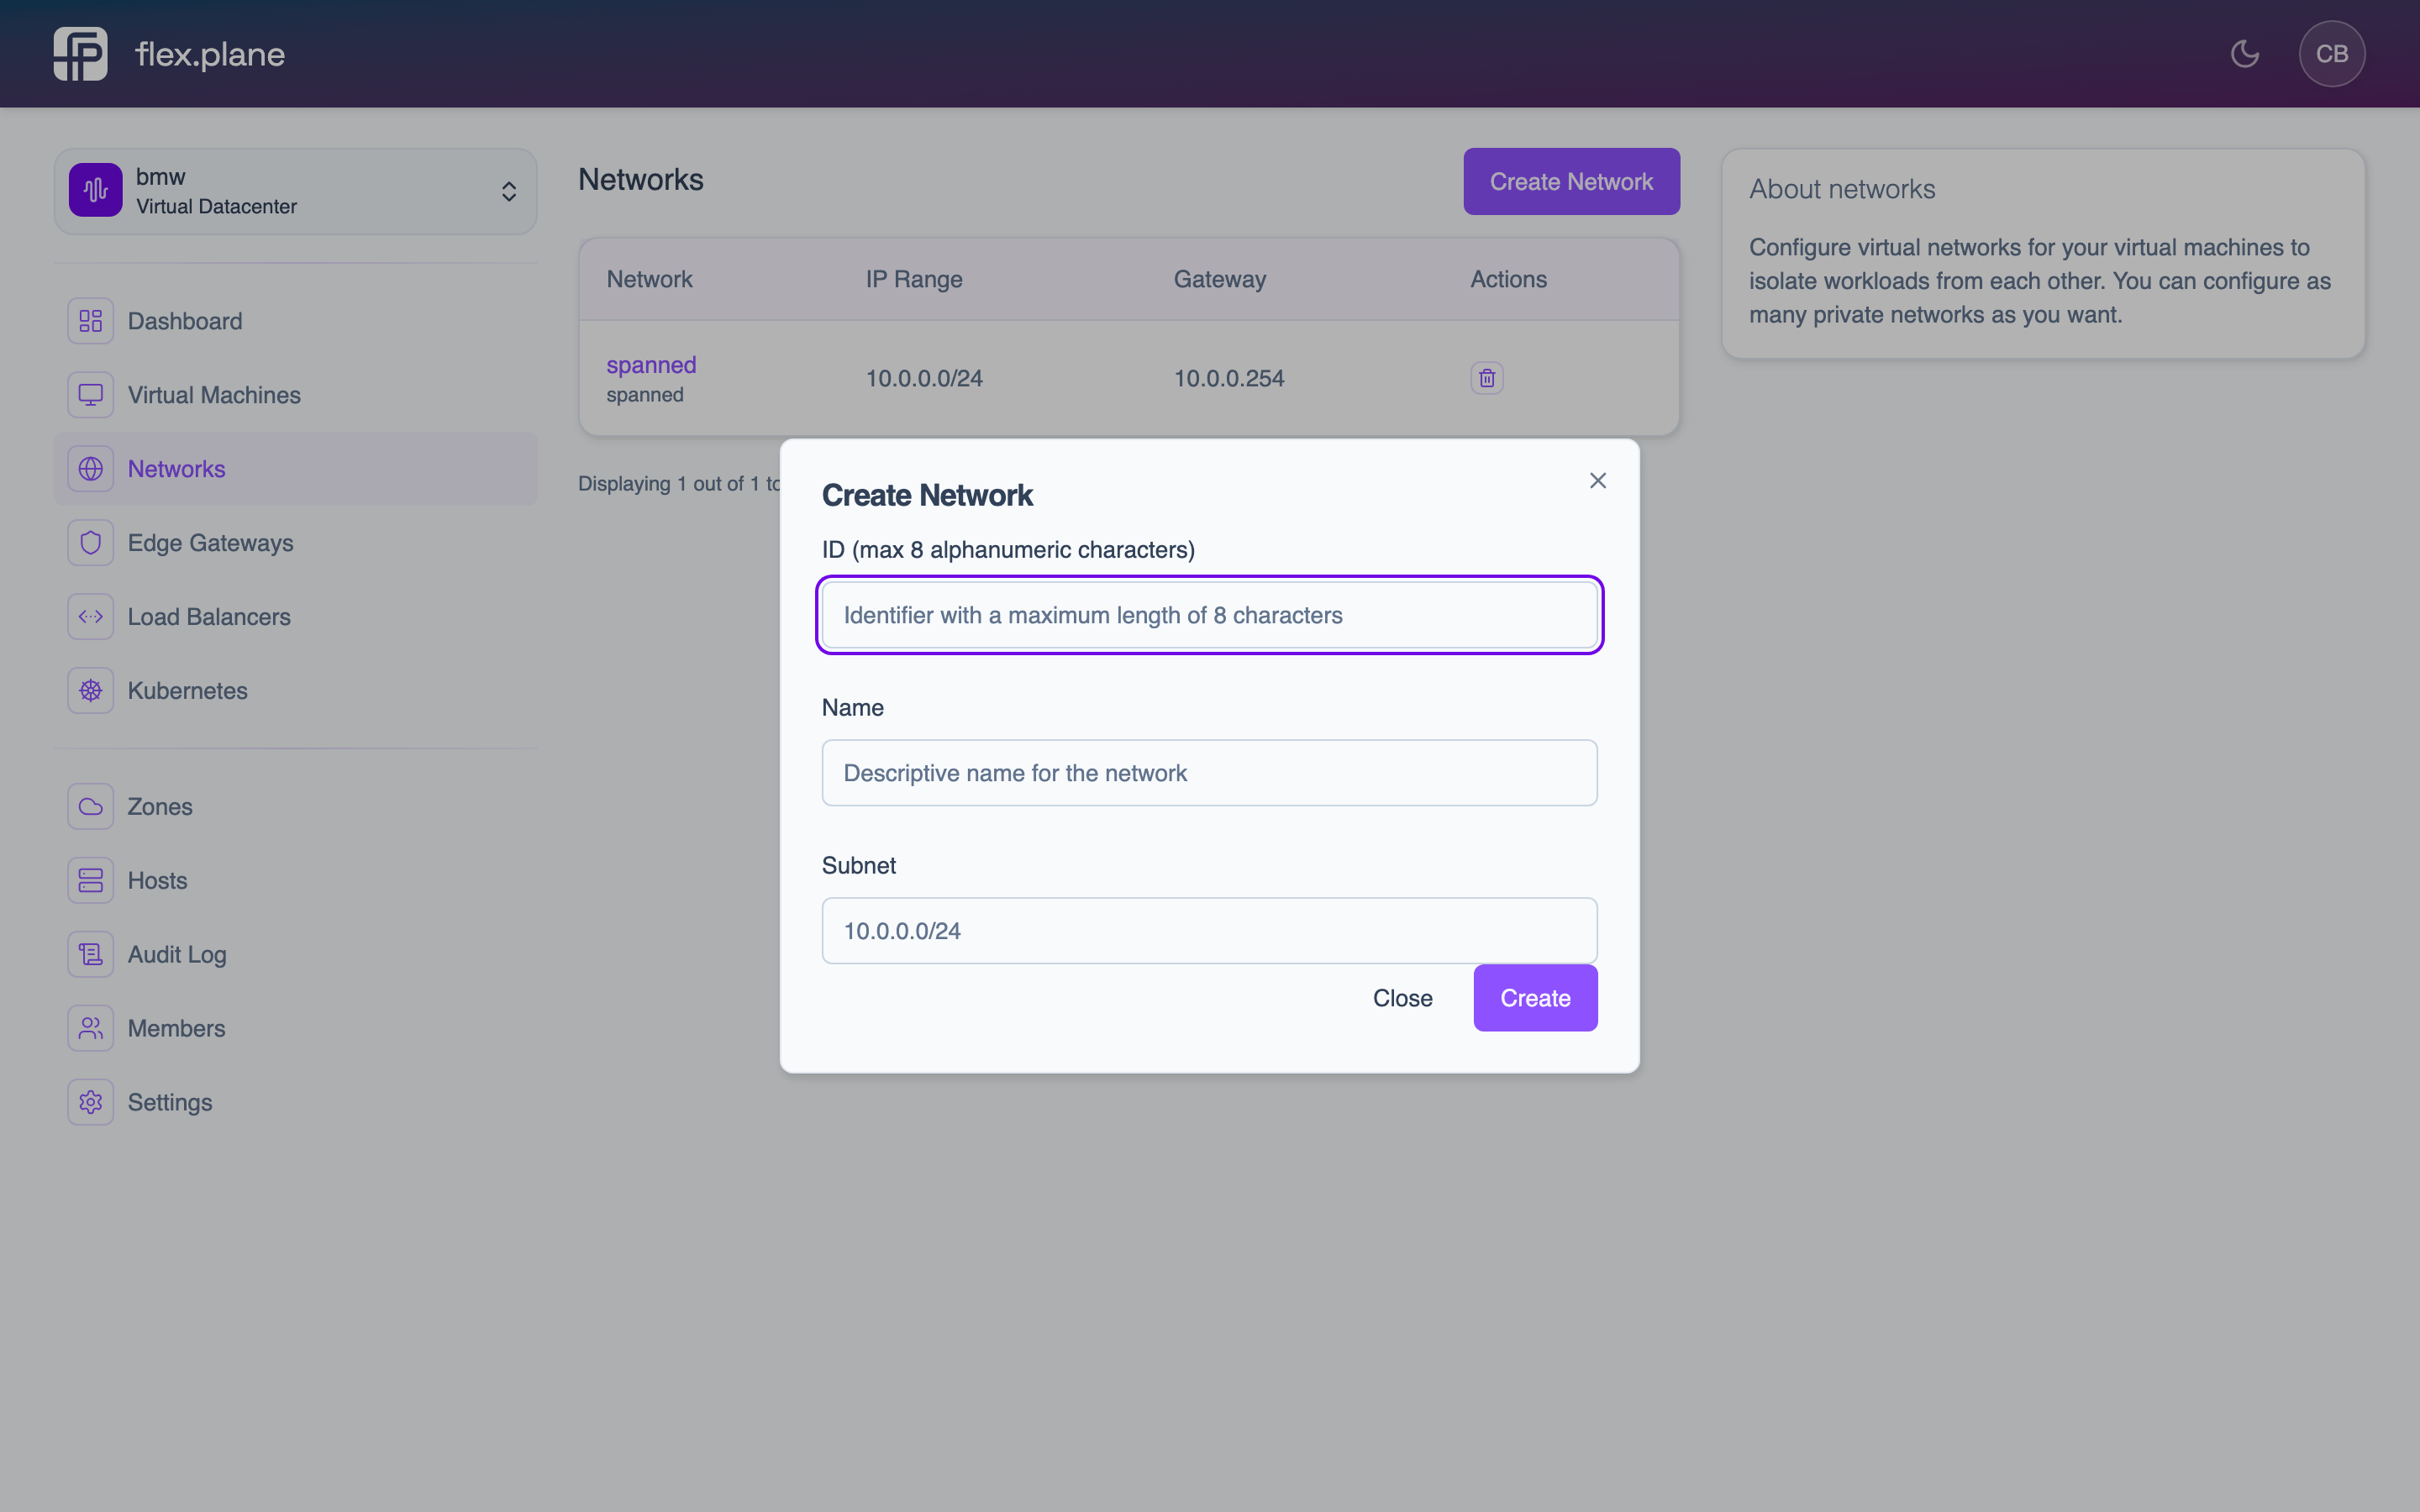 Define your virtual network with an IP range. flex.plane handles IP assignment automatically.
Create the VM
Now you have everything in place.
- Navigate to Virtual Machines.
- Click Create VM.
- Select a zone, image, compute profile, and storage profile.
- Enter a name, SSH public key, and initial credentials.
- Choose a network (IP will be assigned automatically, or you can specify one).
- Click Create.
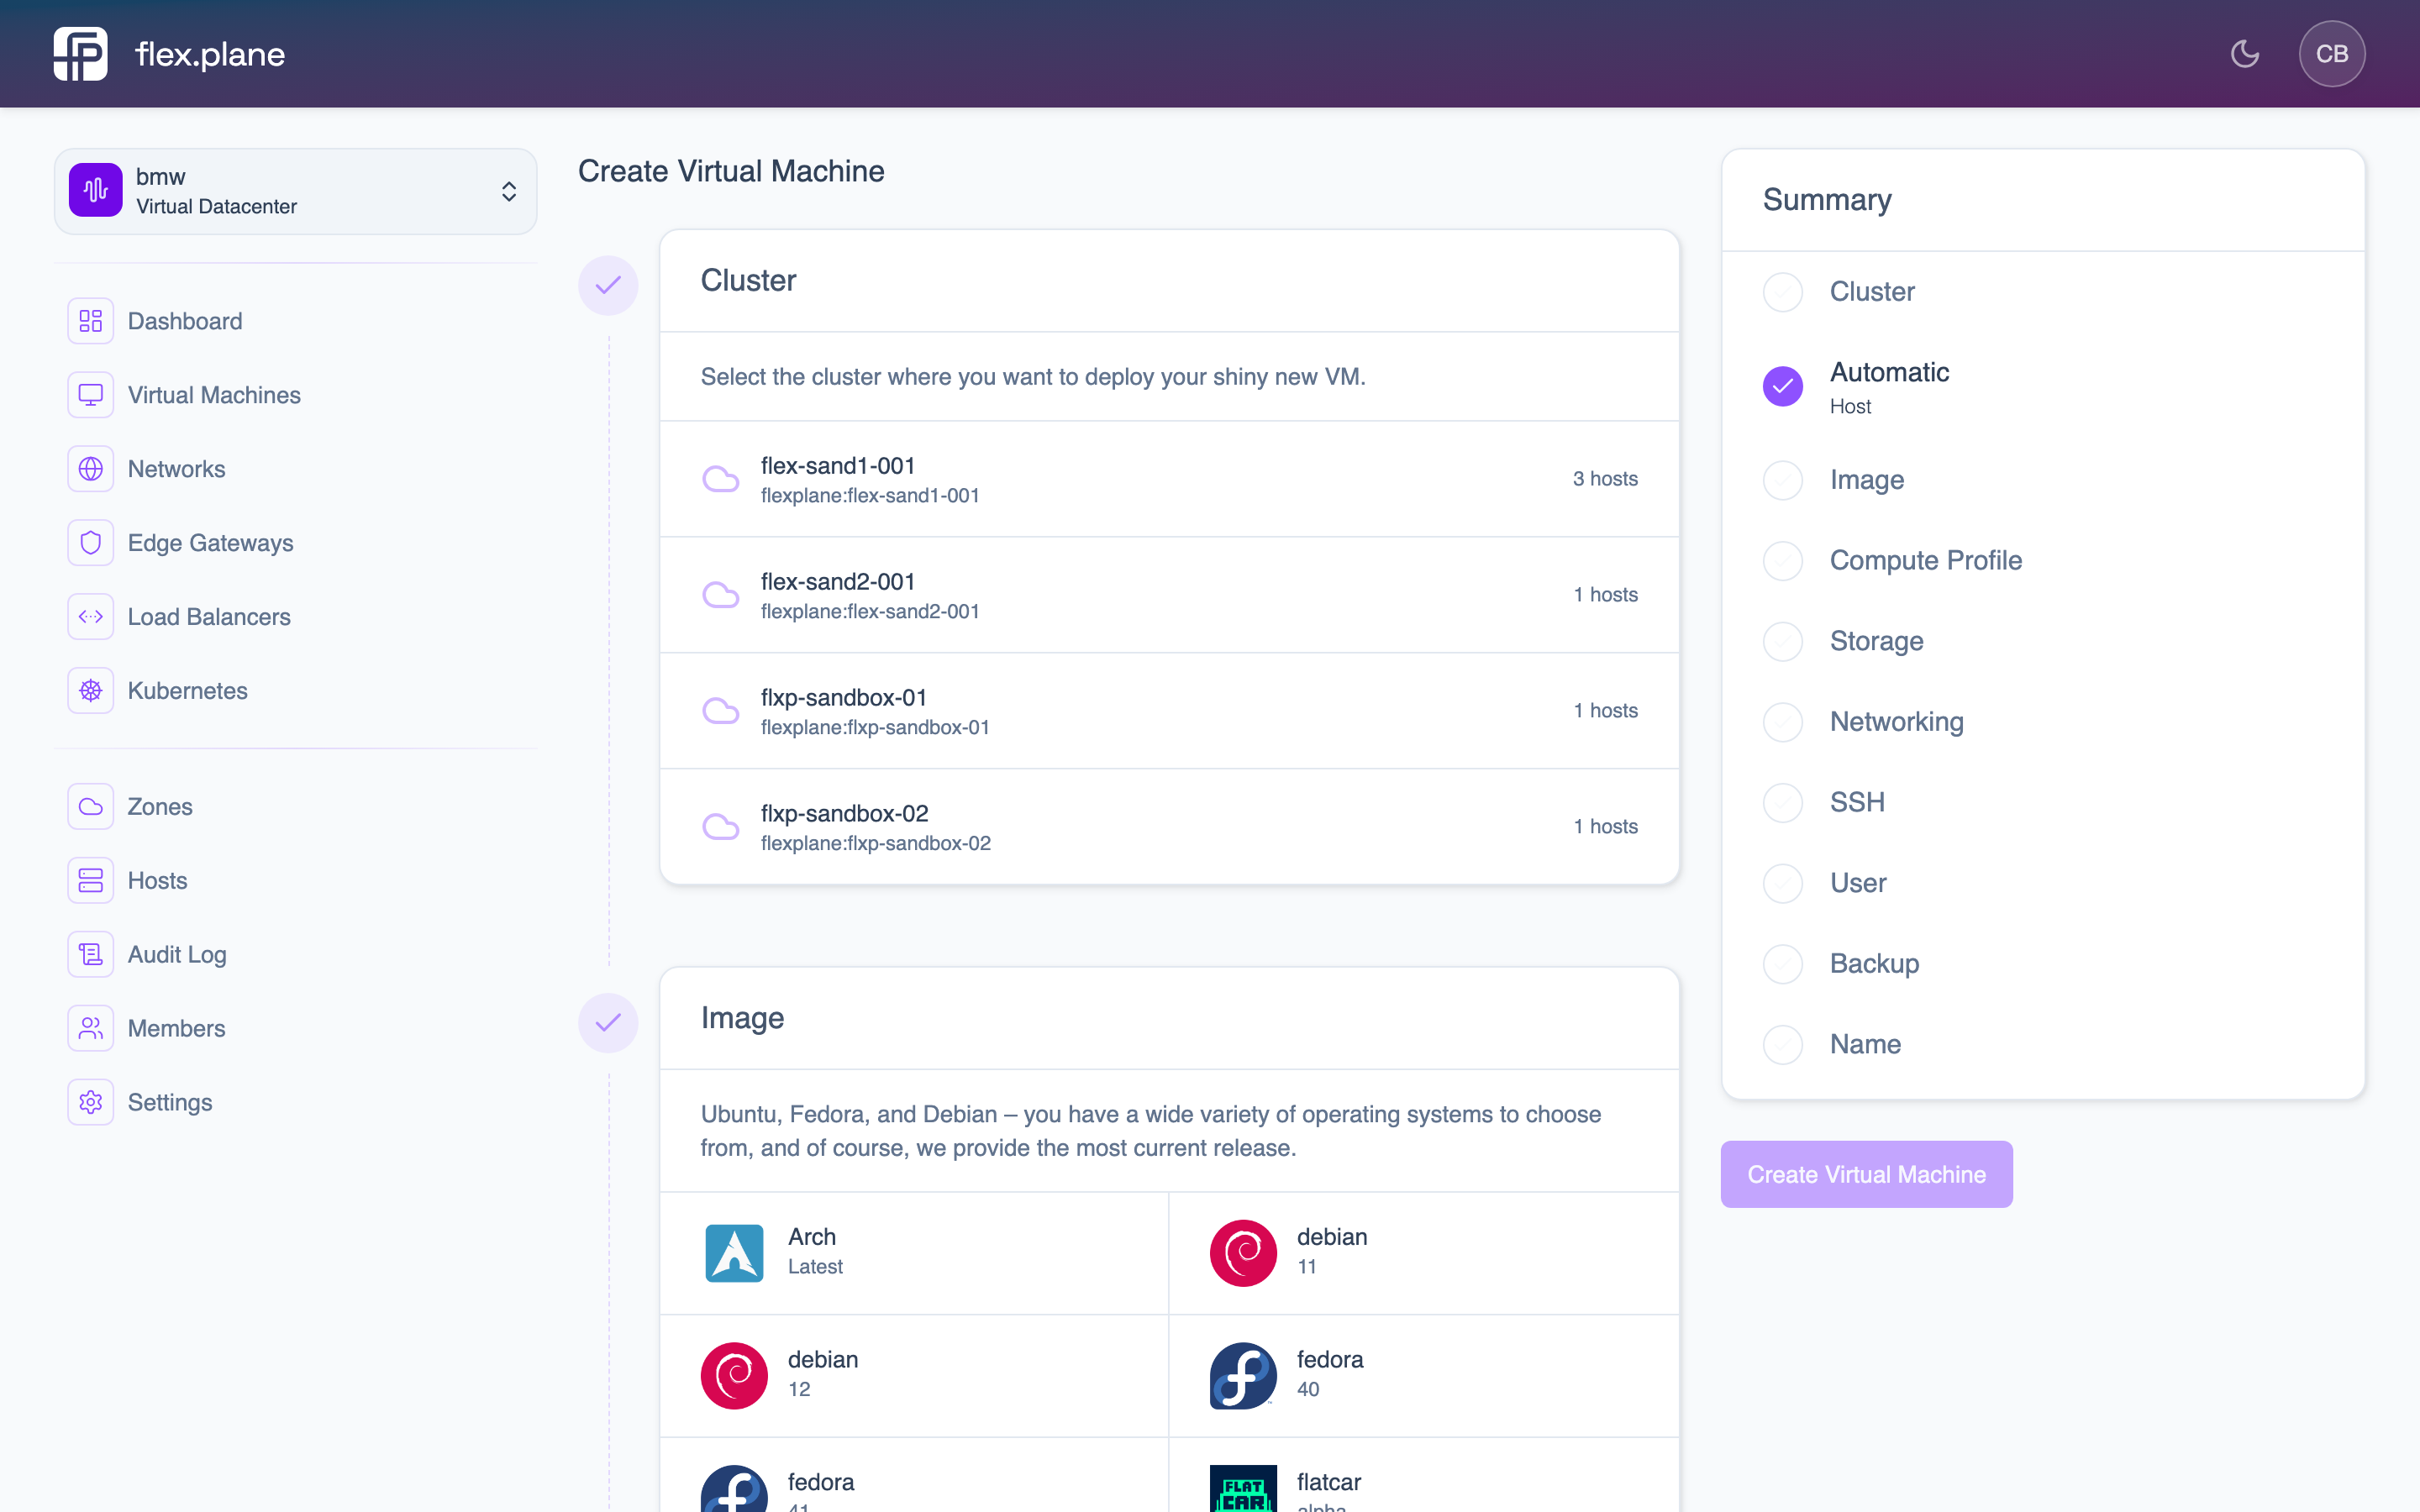 The VM creation form guides you through selecting all the required options.
The orchestrator will:
- Select an appropriate host in the requested zone
- Ensure the image is available on the target host (downloading it if needed)
- Create the VM in Proxmox with the specified compute and storage profiles
- Configure cloud-init with your SSH key, user, and network settings
- Start the VM
Within a minute or so, the VM will be running and accessible.
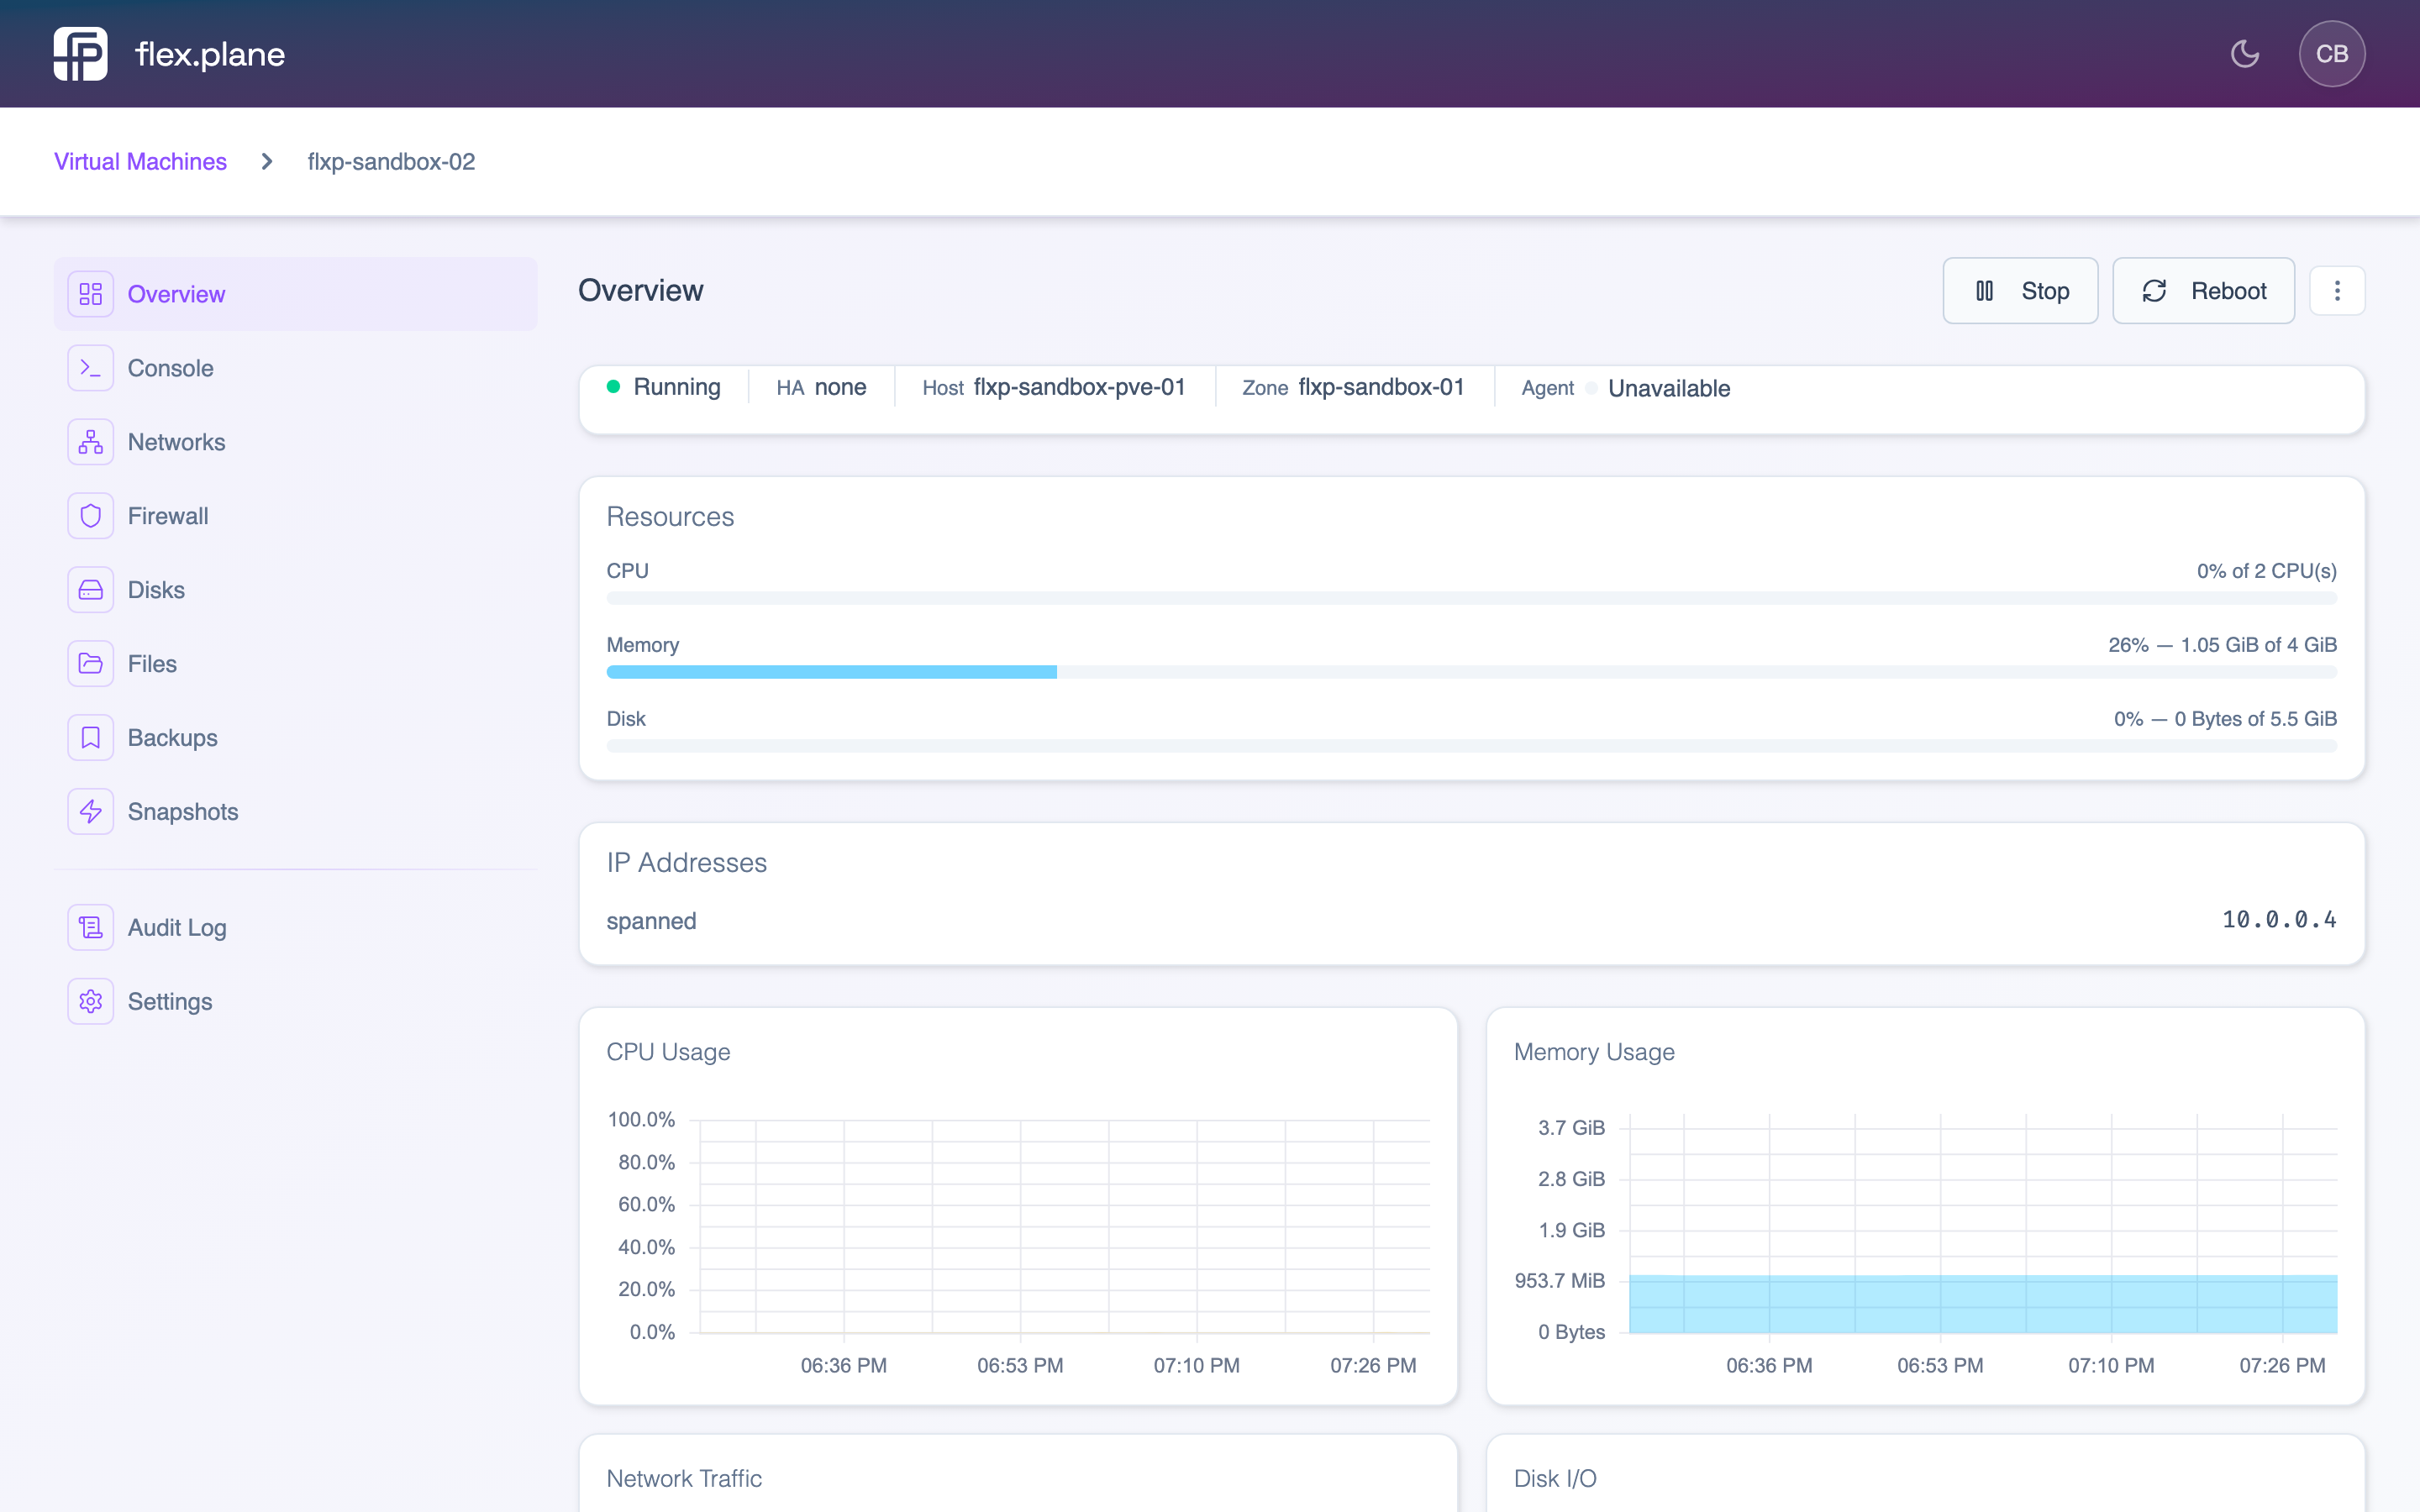 Your running VM with status, resource usage, network information, and management actions.
Access the VM
Once the VM is running, you can access it in two ways:
SSH
If you provided an SSH public key, connect directly using the VM's IP address:
ssh admin@10.0.0.2
The IP address is shown in the VM details in the portal.
Web console
The portal includes a browser-based terminal console for each VM. Navigate to the VM's detail page and click the Console tab. This opens a VNC/terminal session directly in your browser. No SSH required.
Congratulations, you have a running flex.plane deployment with your first VM. From here, you can explore Virtual Datacenters for multi-tenancy, set up additional nodes for more capacity, or dive into the Concepts section to understand the platform in depth.