

Manage VM Lifecycle
Once a VM is created, you control its power state through four operations: start, stop, reboot, and delete. Each action is available directly from the VM list or the VM detail page in the portal.
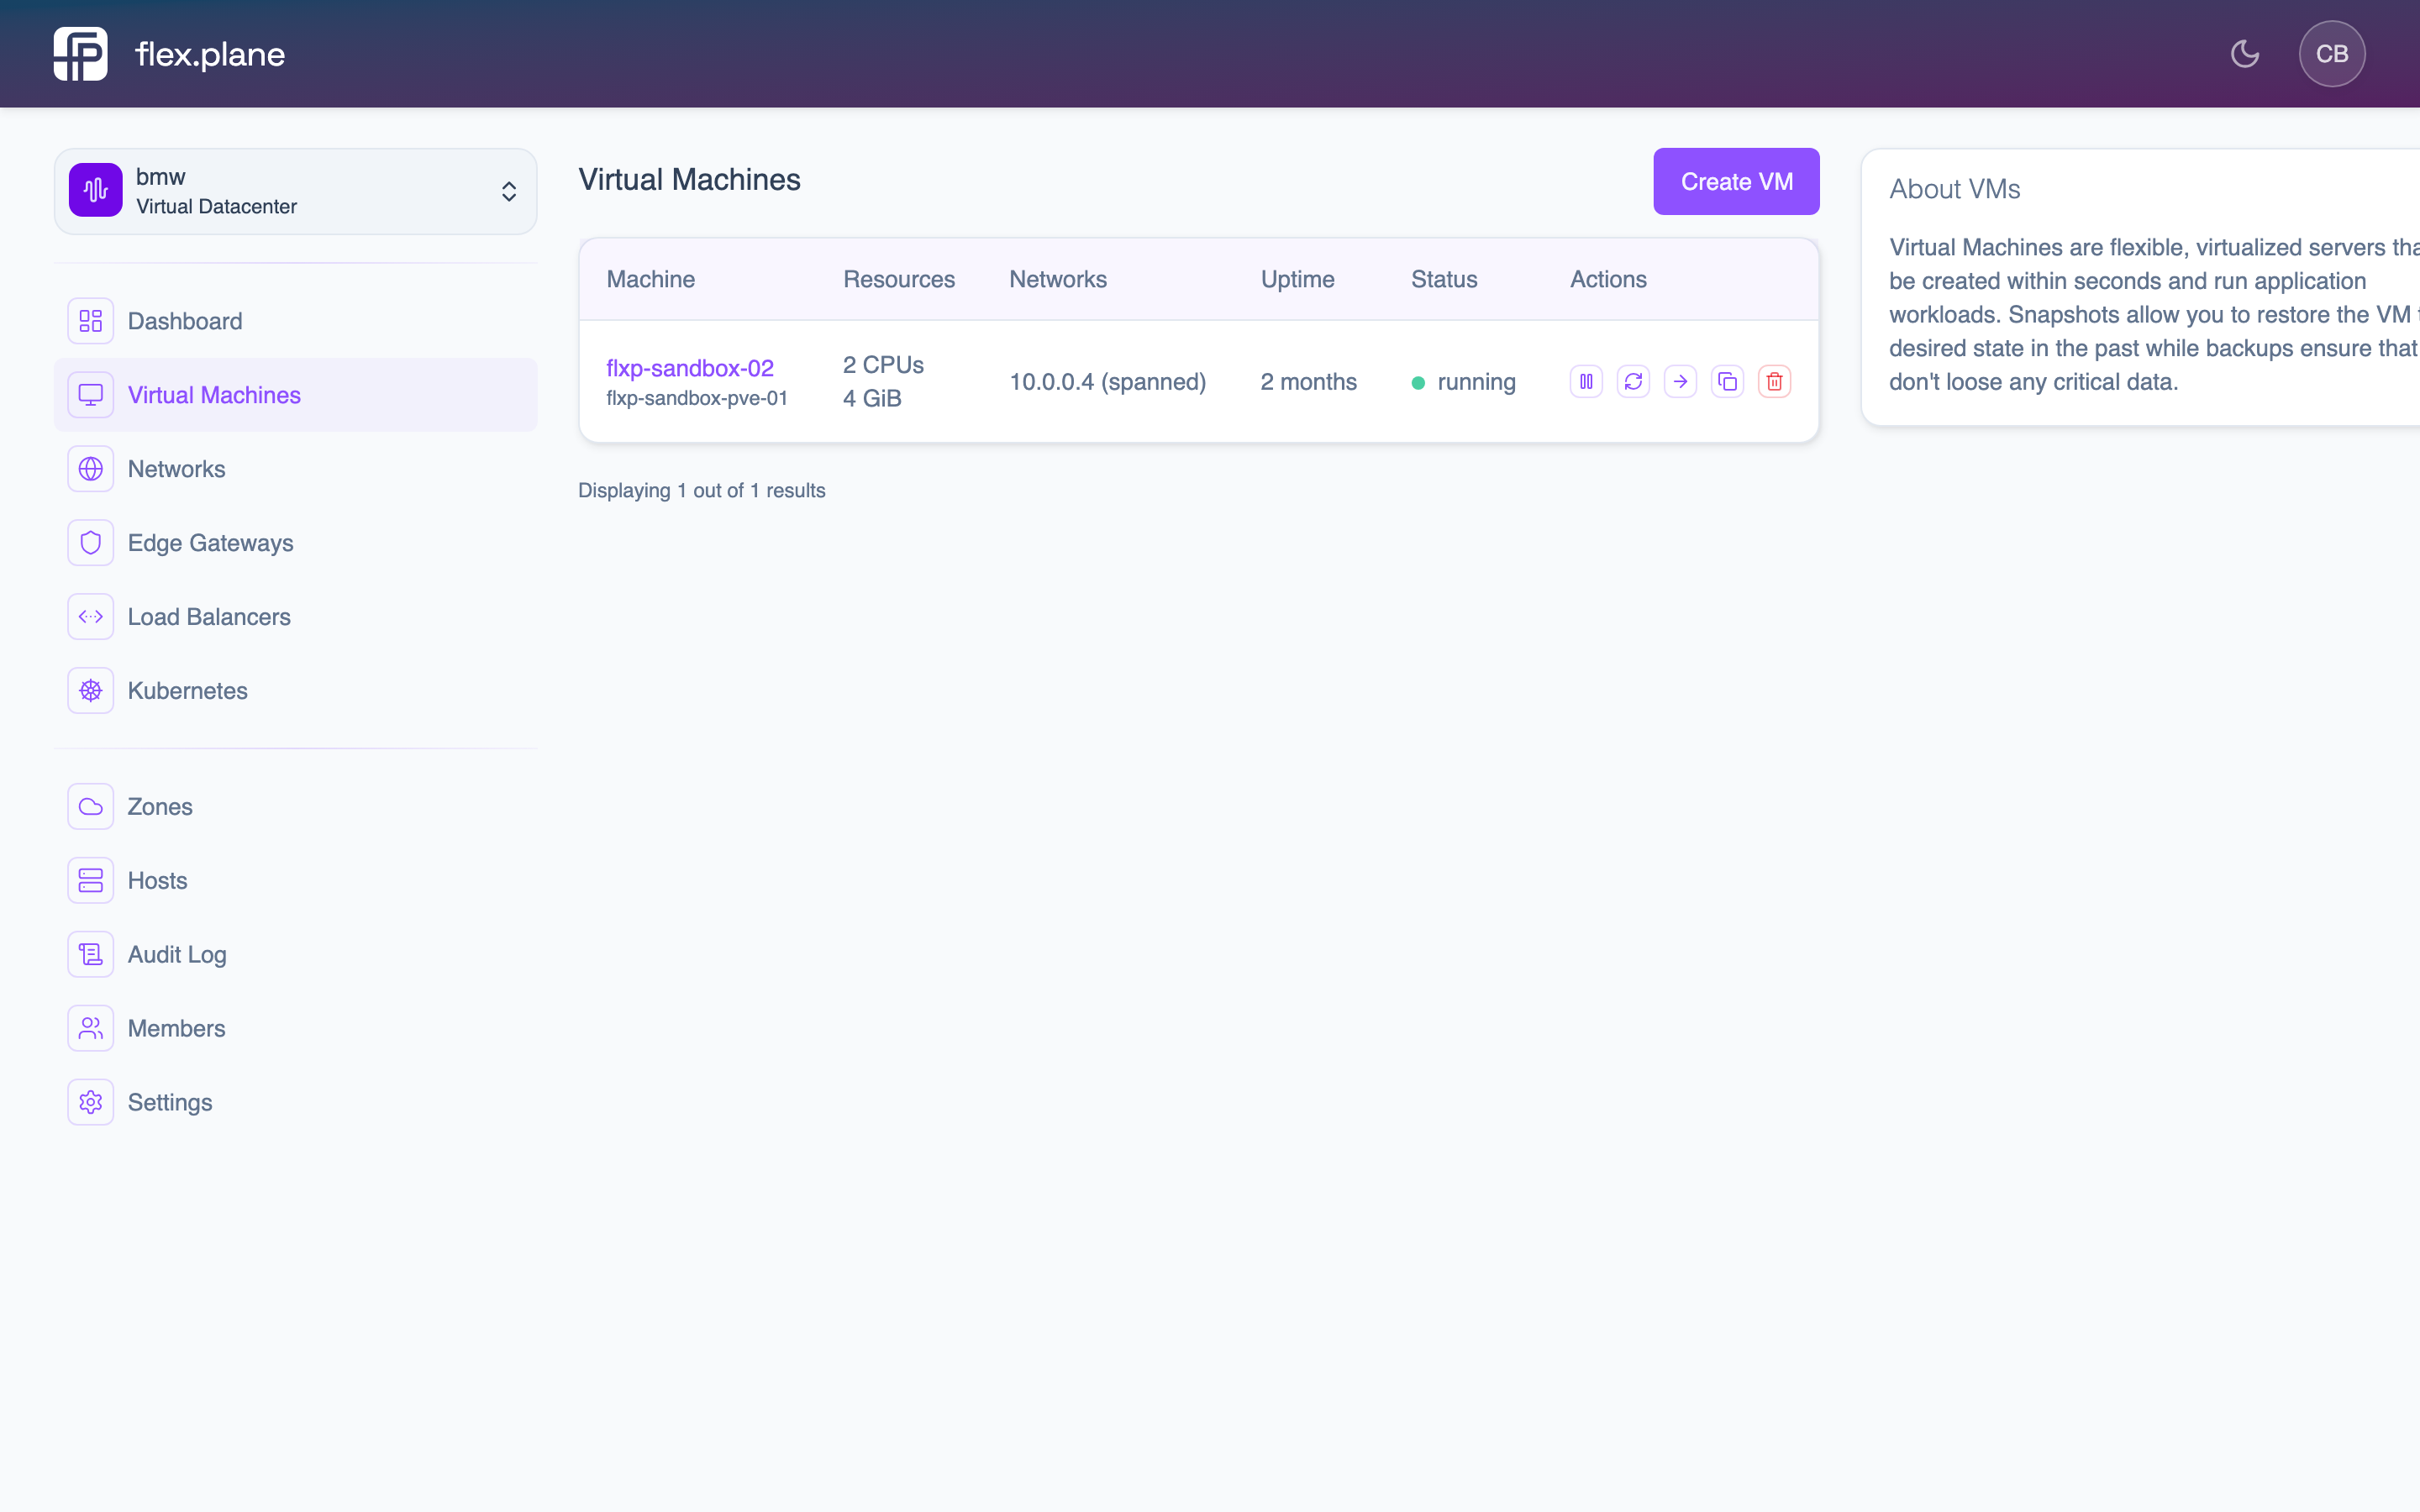 Each VM in the list has quick action buttons for start, stop, reboot, open console, migrate, and delete.
Start a VM
Start a stopped VM. This powers on the virtual machine and boots the guest operating system. In the portal, click the play button in the VM's action row or use the controls on the VM detail page.
The VM transitions from stopped to running. The status indicator updates in real time.
Stop a VM
Stop a running VM. This performs an ACPI shutdown, giving the guest operating system time to shut down gracefully. Click the stop button in the VM's action row.
Reboot a VM
Reboot a running VM. This sends an ACPI reboot signal to the guest, which shuts down and restarts without fully powering off the virtual hardware. Click the reboot button in the VM's action row.
Rebooting is useful after applying kernel updates, changing system configuration, or when you need a clean restart without losing your host placement.
Delete a VM
Permanently remove a VM and its associated resources. This operation is irreversible. Click the delete button (trash icon) in the VM's action row. The portal asks for confirmation before proceeding.
What gets deleted
When you delete a VM, the following resources are removed:
- The virtual machine itself (CPU, memory allocation).
- All attached disks, including the boot disk and any additional data disks.
- Network interface assignments (the IPs are released).
- Firewall rules associated with the VM.
Backups and snapshots stored on backup storage are not automatically deleted. You can clean those up separately if needed.