

Manage Node Pools
Node pools are the building blocks of your Kubernetes cluster's compute capacity. Each pool is a group of identically configured worker nodes that you scale and remove independently. Manage them from the Node Pools tab of a cluster.
Understand node pools
A node pool defines:
| Property | Description |
|---|---|
name | Unique name within the cluster (lowercase letters, digits and dashes, up to 20 characters) |
zone | Where the worker VMs are provisioned |
computeProfile | CPU and memory of each node |
storageProfile | Storage for each node's boot disk |
size | Number of nodes (0–10) |
labels | Kubernetes labels added to every node |
taints | Kubernetes scheduling constraints applied to every node |
Every node in a pool gets the same configuration. If you need nodes with a different configuration, create another pool. A cluster can have up to 10 node pools.
The system node pool
Every cluster has a node pool named system, created together with the cluster. It runs the cluster add-ons (CNI, CoreDNS, metrics-server, and friends) alongside your workloads. To make sure the add-ons always have somewhere to run, the system pool:
- keeps at least one node,
- can't be tainted,
- can't be deleted.
Common node pool strategies:
- System pool only: simple clusters with uniform nodes. Good for getting started.
- System + specialized: the system pool for most workloads plus specialized pools (e.g. high-memory, GPU) for specific needs, usually tainted so only the intended workloads land there.
Add a node pool
- Open the cluster and switch to the Node Pools tab.
- Click Add Node Pool.
- Pick a name, compute profile, storage profile, and the number of nodes. Optionally add labels and taints.
- Click Add Node Pool. The new nodes join the cluster within a few minutes.
New node pools run in the cluster's zone. The pool's nodes use the same Kubernetes version, users, and SSH keys as the rest of the cluster.
Target a node pool
Every node is labelled with the name of its pool:
flexplane.io/node-pool: gpu
Use it in a nodeSelector or node affinity to schedule workloads on a specific pool:
spec:
  nodeSelector:
    flexplane.io/node-pool: gpu
Your own labels work the same way. Label keys can't use the kubernetes.io, k8s.io, or flexplane.io prefixes.
Configure taints
Taints keep pods off nodes unless they explicitly tolerate them. Each taint has three parts:
- key: a label key (e.g.
"workload-type","gpu","dedicated"). - value: a label value (e.g.
"batch","nvidia-a100","team-data"). - effect: what happens to pods that do not tolerate the taint:
NoSchedule: pods without a matching toleration are not scheduled on the node.PreferNoSchedule: the scheduler tries to avoid the node but will use it if no alternatives exist.NoExecute: existing pods without a toleration are evicted, and new pods are not scheduled.
Example: a pool for GPU workloads only:
# Node pool taint
key: "gpu"
value: "nvidia-a100"
effect: NoSchedule
# Pod toleration and node selector (in your workload spec)
tolerations:
  - key: "gpu"
    value: "nvidia-a100"
    effect: "NoSchedule"
nodeSelector:
  flexplane.io/node-pool: gpu
Change a node pool
A pool's size can be changed at any time, see Scale a Cluster. Everything else (zone, compute profile, storage profile, labels, and taints) is fixed once the pool exists.
To change the machine size or any other setting, replace the pool:
- Add a new pool with the desired configuration.
- Wait until its nodes are ready.
- Delete the old pool. Its pods are rescheduled onto the remaining nodes.
Delete a node pool
Open the pool's menu on the Node Pools tab and choose Delete. The pool's nodes are drained and their VMs deleted. Pods that can't be scheduled on another pool stay pending, so make sure the remaining pools have enough capacity and matching tolerations.
The system pool can't be deleted.
Monitor pool status
Each node pool tracks its health through several status fields. The Node Pools tab shows all pools and their nodes.
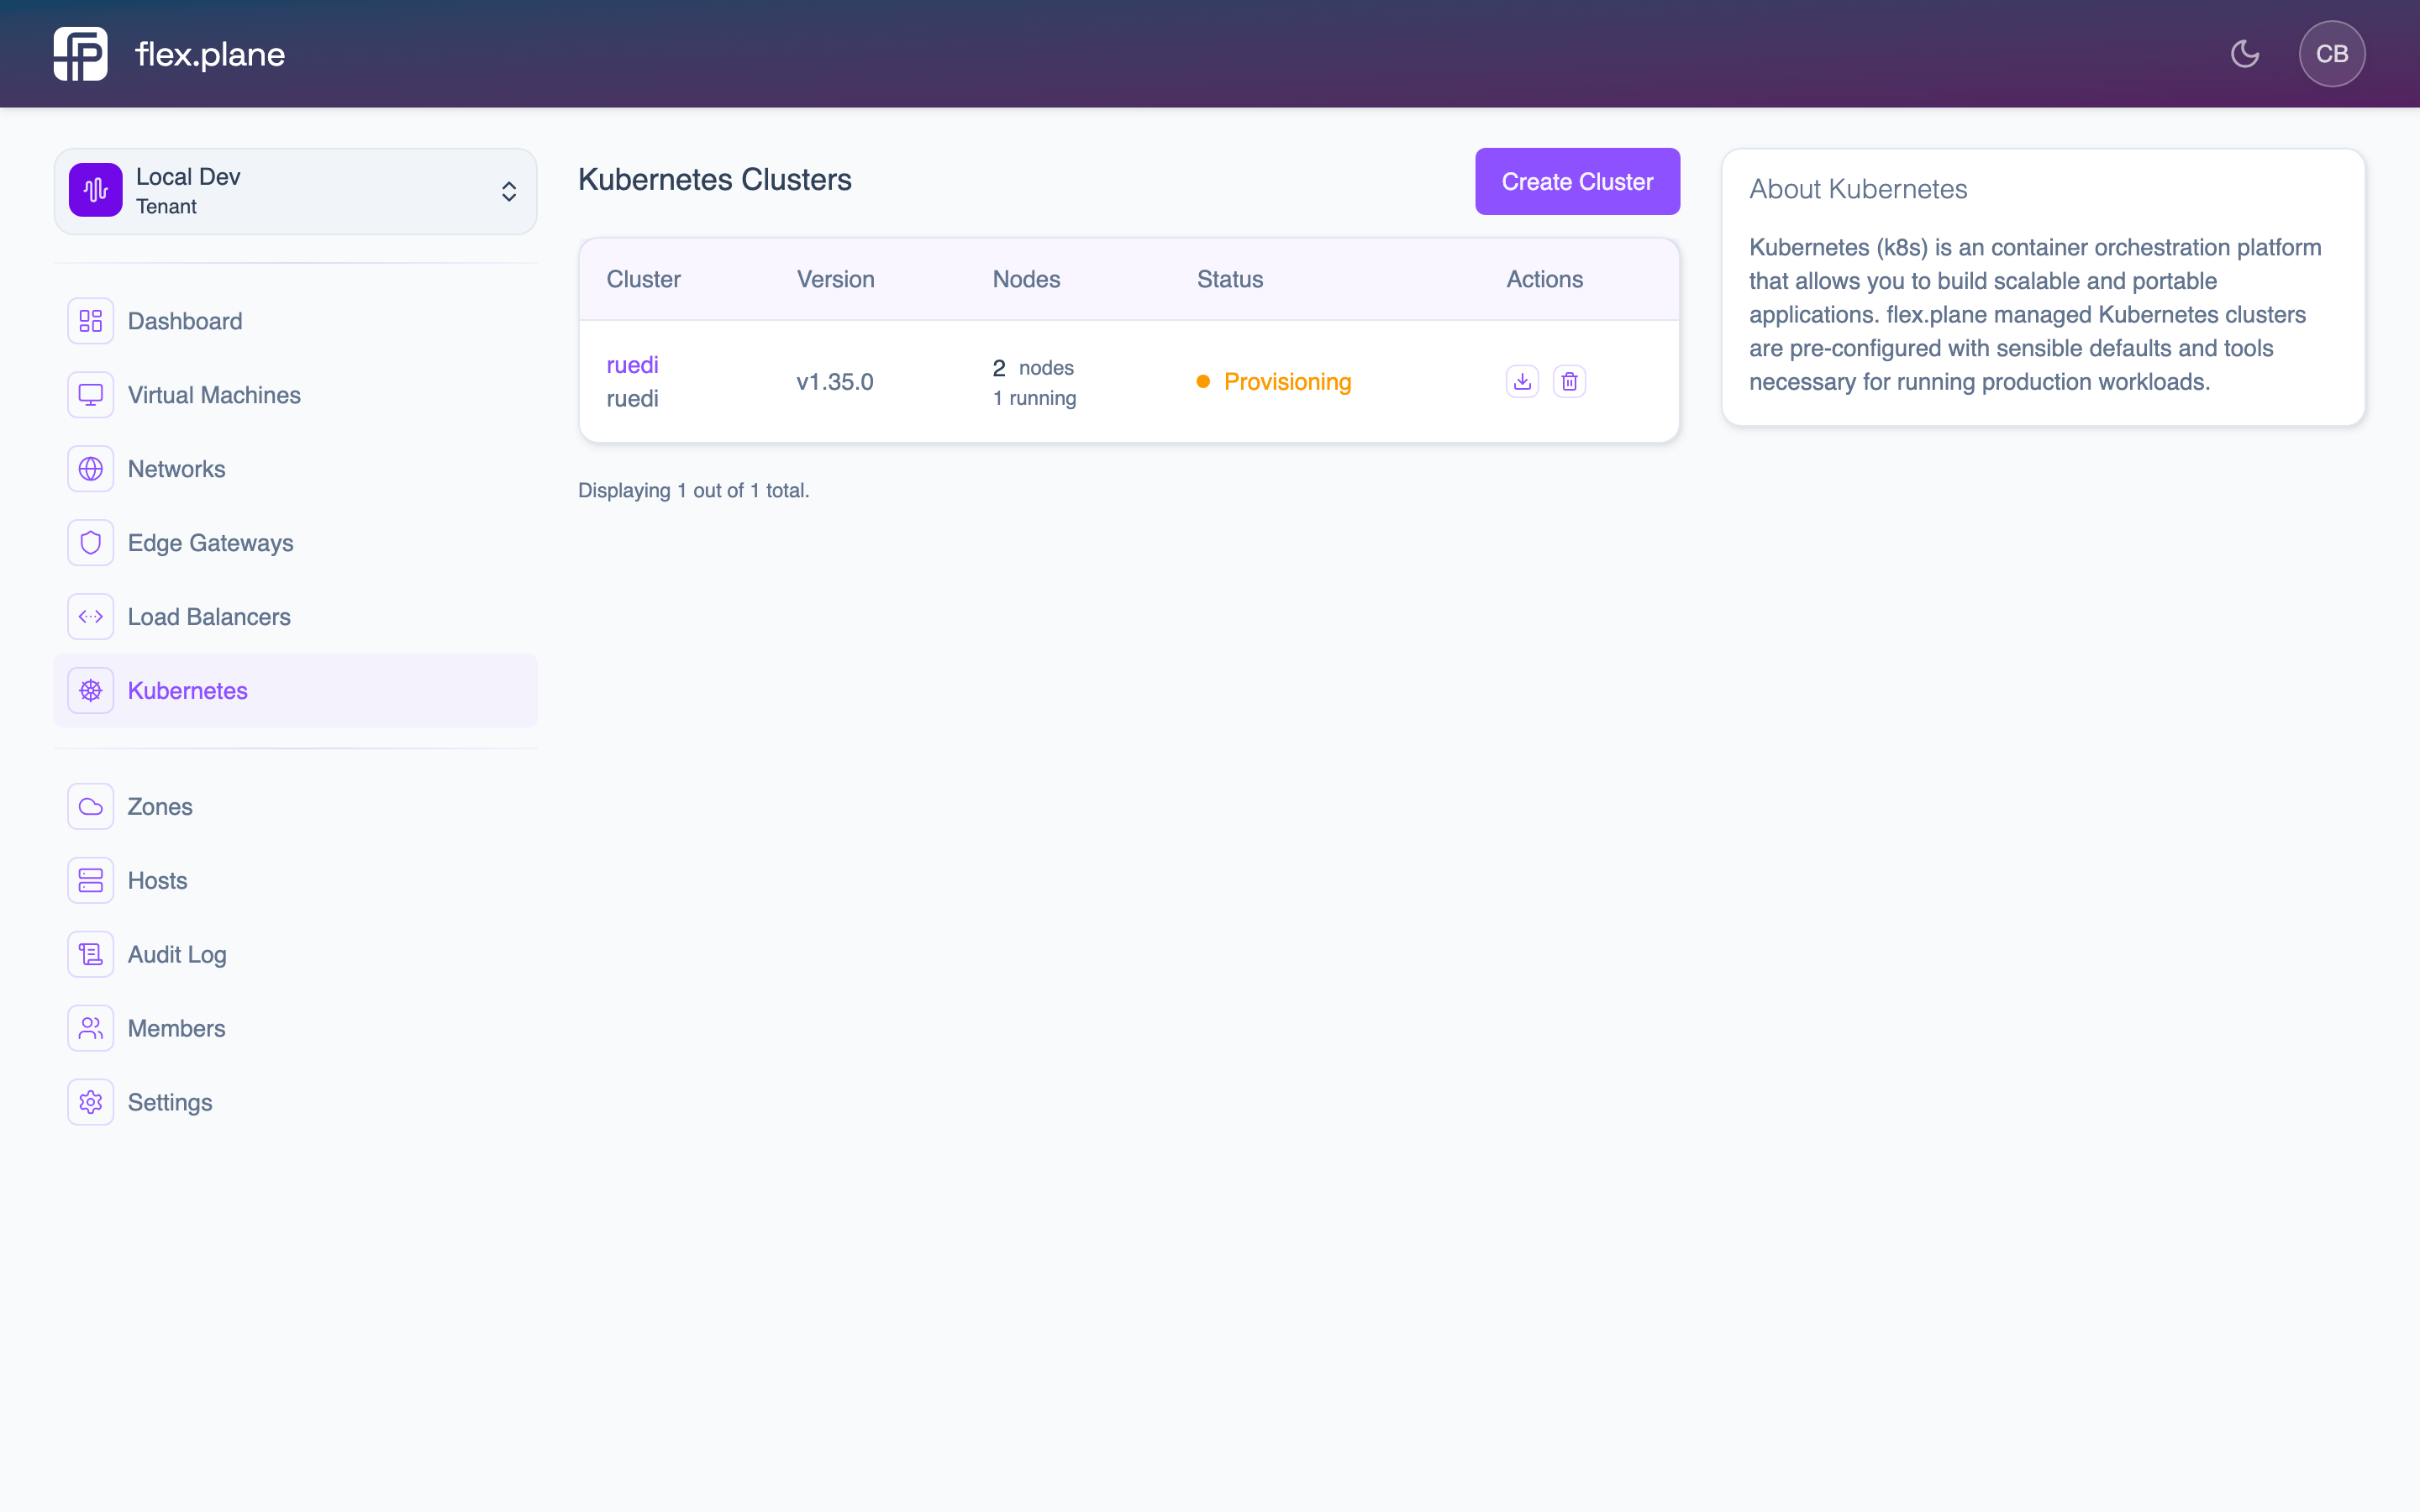 The cluster detail page displays node pools with their size, status, ready replicas, and individual node health.
Key indicators:
readyReplicas: number of nodes that are healthy and ready to accept pods. This should matchsizewhen the pool is stable.updatedReplicas: number of nodes running the pool's current configuration.unavailableReplicas: number of nodes that are not ready yet. If this stays greater than 0, something needs attention.
Each node also links back to its underlying VM, so you can inspect the VM's status, resource usage, and host placement directly from the Kubernetes view.